Installation and Configuration
System Requirements
| Component | Recommended | Support Range |
|---|---|---|
| Operating System | Ubuntu 22.04 | Ubuntu 20.04 - 24.04 |
| Architecture (PC) | x86_64 | x86_64 |
| Architecture (Robot) | aarch64 | aarch64 |
| Python | 3.8+ | 3.8 - 3.14 |
| Storage Space | 16GB | 3GB+ |
Terminology
- XCU: Base Computing Platform, responsible for low-level control and basic computation
- Orin: High-Performance Computing Platform, responsible for image processing and AI computation
Mode 1: Robot-Side Deployment
Use Case: Production environment deployment, applications requiring high real-time performance
Features: No network latency, minimal communication overhead
1. Connect to Robot Network
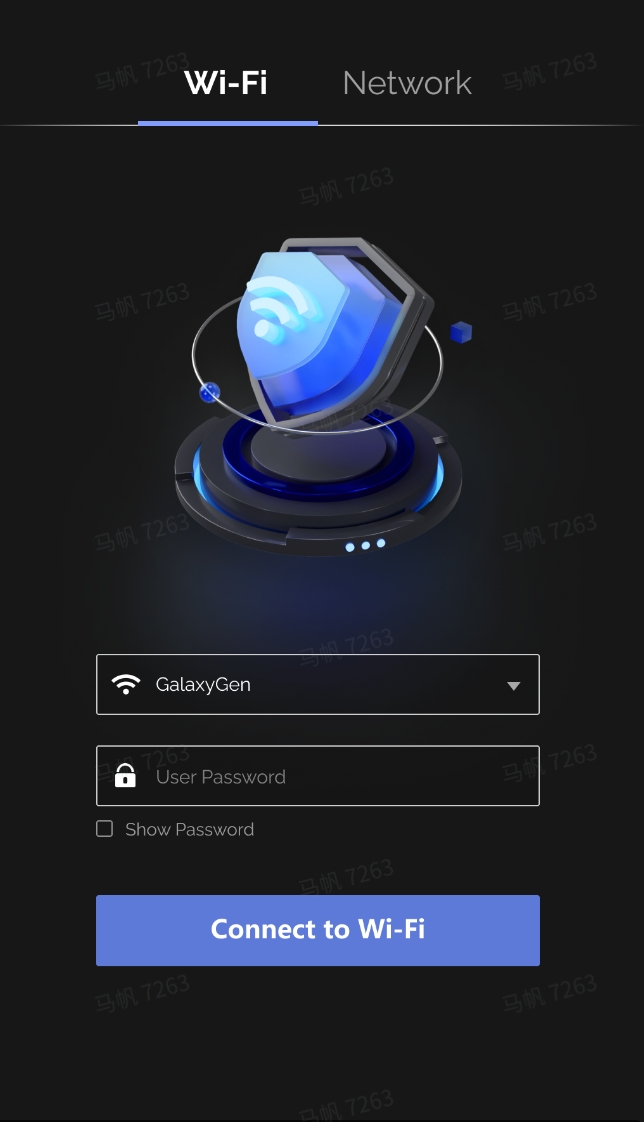
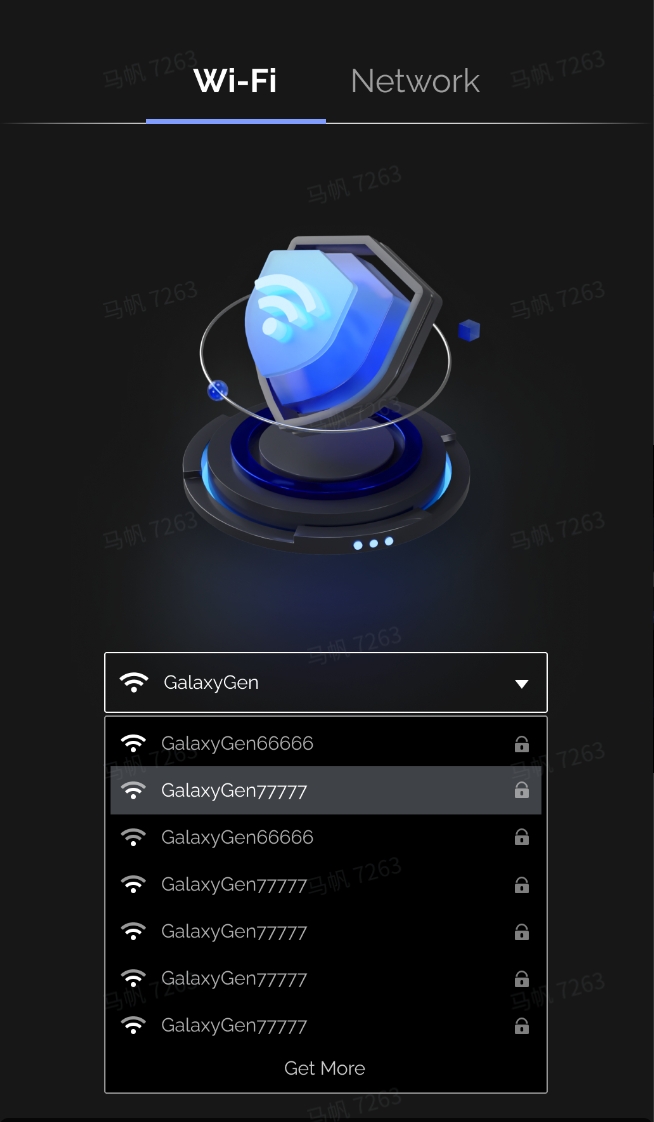
1.1 After powering on, connect to WiFi in the network selection interface
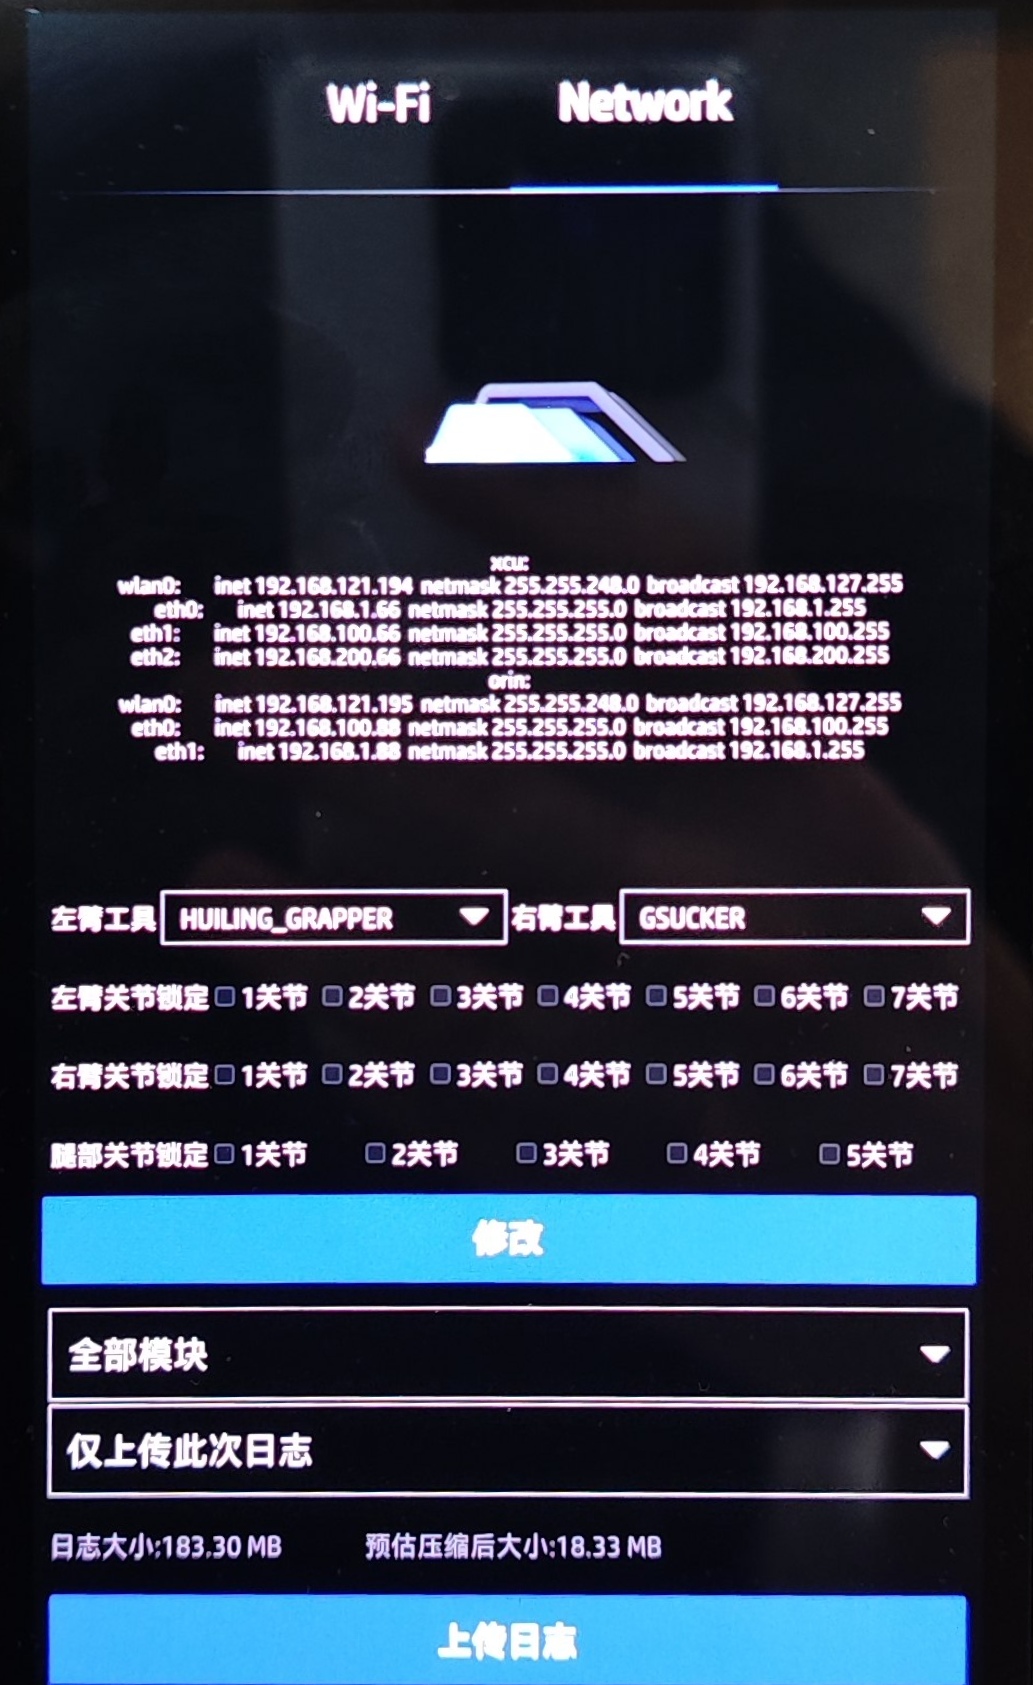
1.2 Check the robot's IP address in the Network interface
2. Deploy SDK to Robot
2.1 Execute the deployment script on PC
2.2 Enter connection information as prompted
- Username:
galbot - Orin IP address: e.g.,
192.168.120.180 - Password:
gb@2023
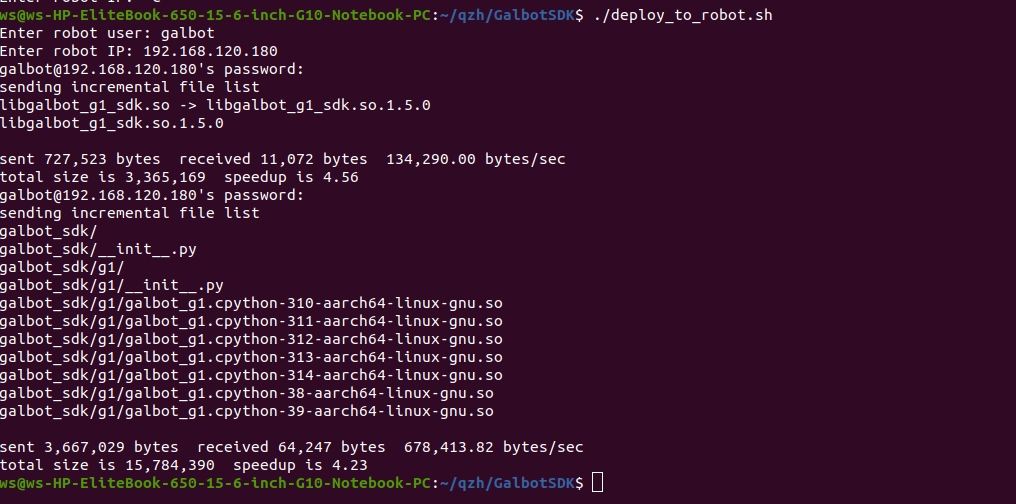
Deployment Result
Dynamic library automatically installed to: /data/galbot/lib
2.3 Verify installation
Expected Output
Displays libgalbot_g1_sdk.so and libgalbot_g1_sdk.so.1.5.0

3. Install SDK on PC
Navigate to the SDK directory and execute the installation script
4. Compile Programs
4.1 Cross-compile on PC (aarch64)
cd examples/cpp/
mkdir -p build
cd build
cmake ../ -DCMAKE_TOOLCHAIN_FILE=../cmake/linux-aarch64-gcc940.cmake
make
4.2 Transfer the executable file to the robot's Orin
5. Run Programs
5.1 C++ Programs
5.2 Python Programs
Persist Environment Variables
Mode 2: PC-Side Deployment
Use Case: Development and debugging, rapid iteration
Features: Convenient development, supports LAN remote control
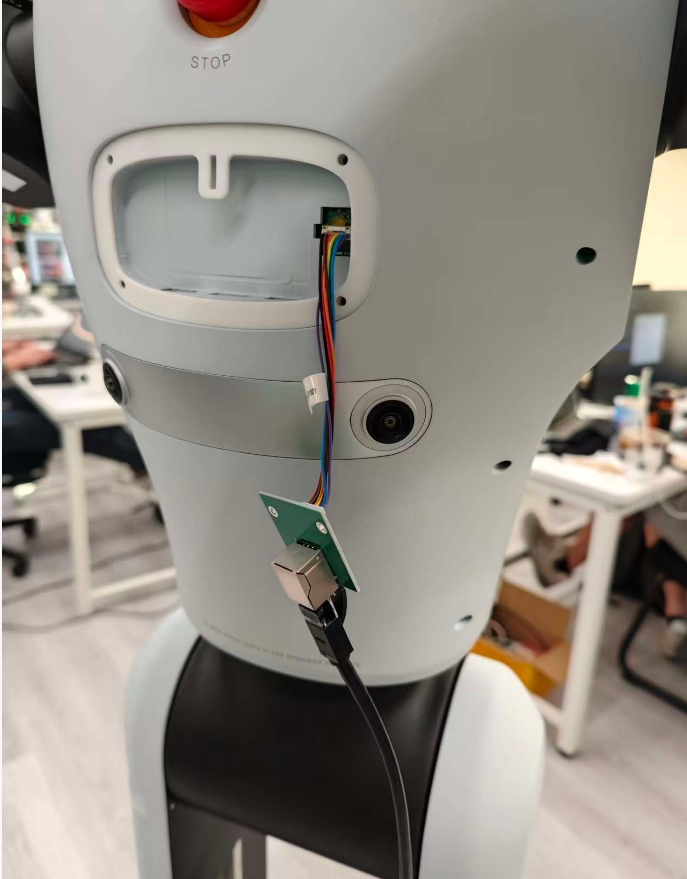
1. Physical Connection
Connect PC and robot using an Ethernet cable
2. Network Configuration
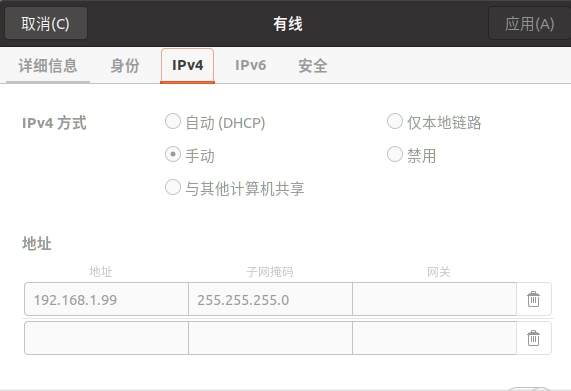
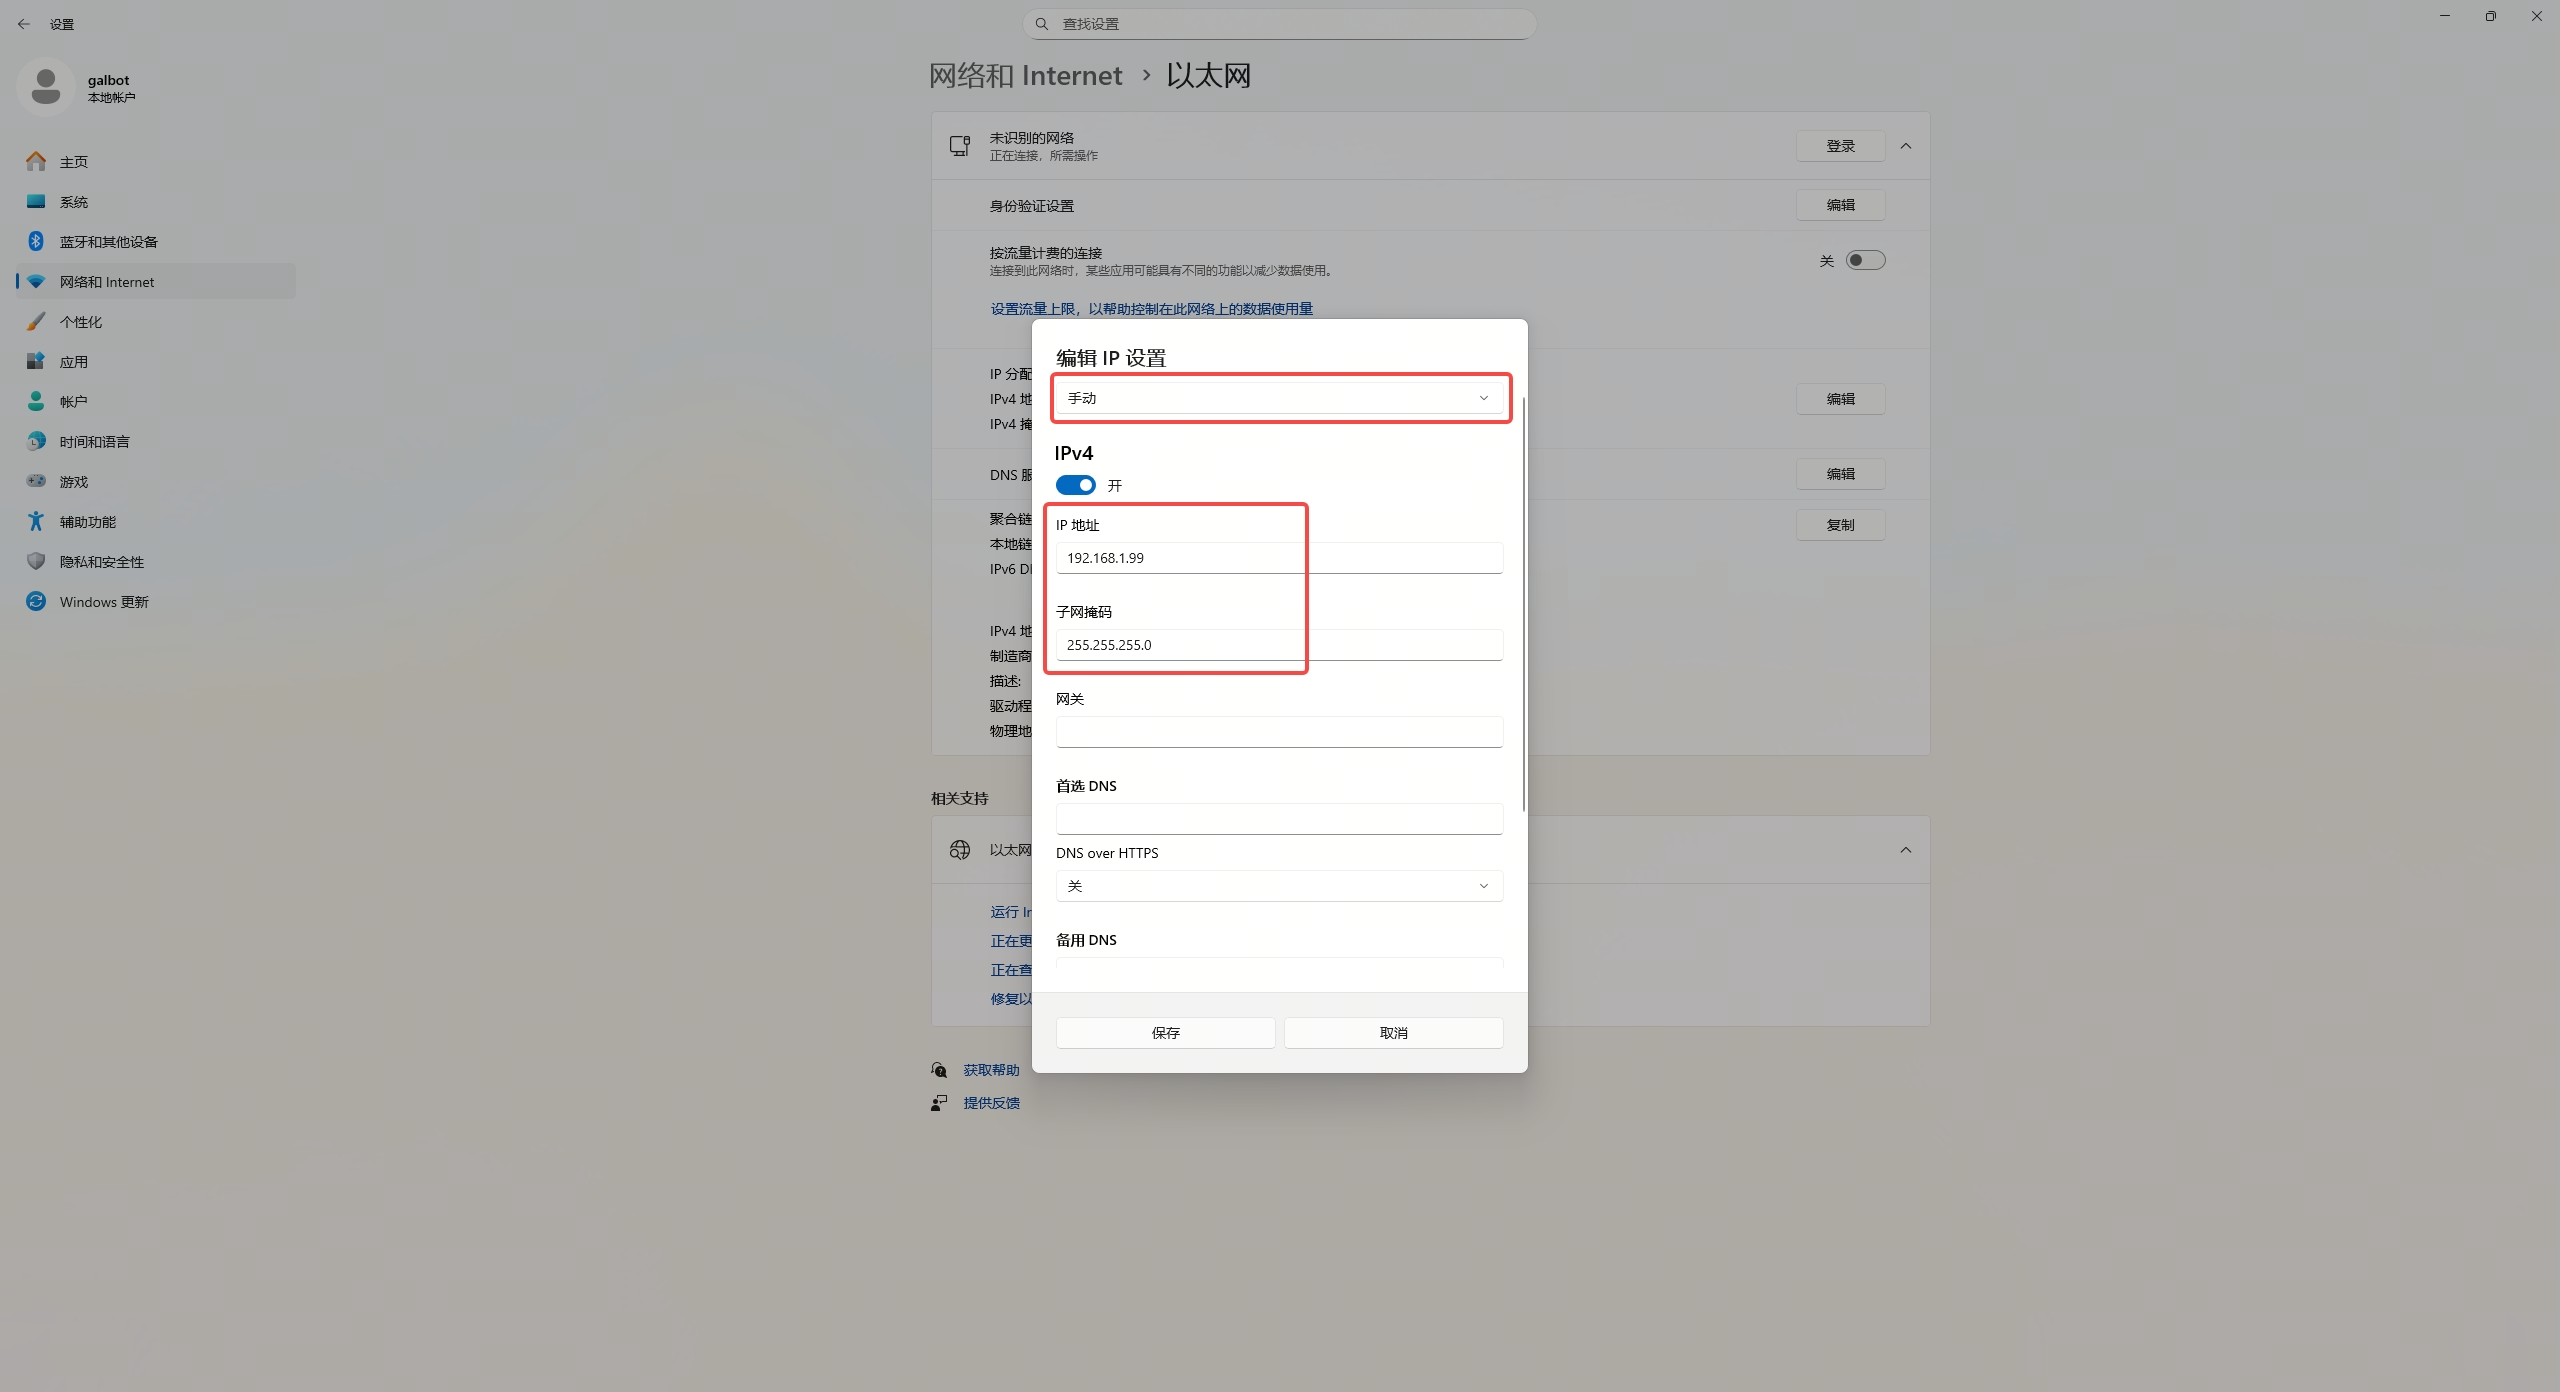
2.1 Configure PC Network Interface IP
- IP Address:
192.168.1.99(or other address in the same subnet) - Subnet Mask:
255.255.255.0
2.1.1 Ubuntu
Settings path: Settings → Network → Wired Settings → IPv4 → Manual
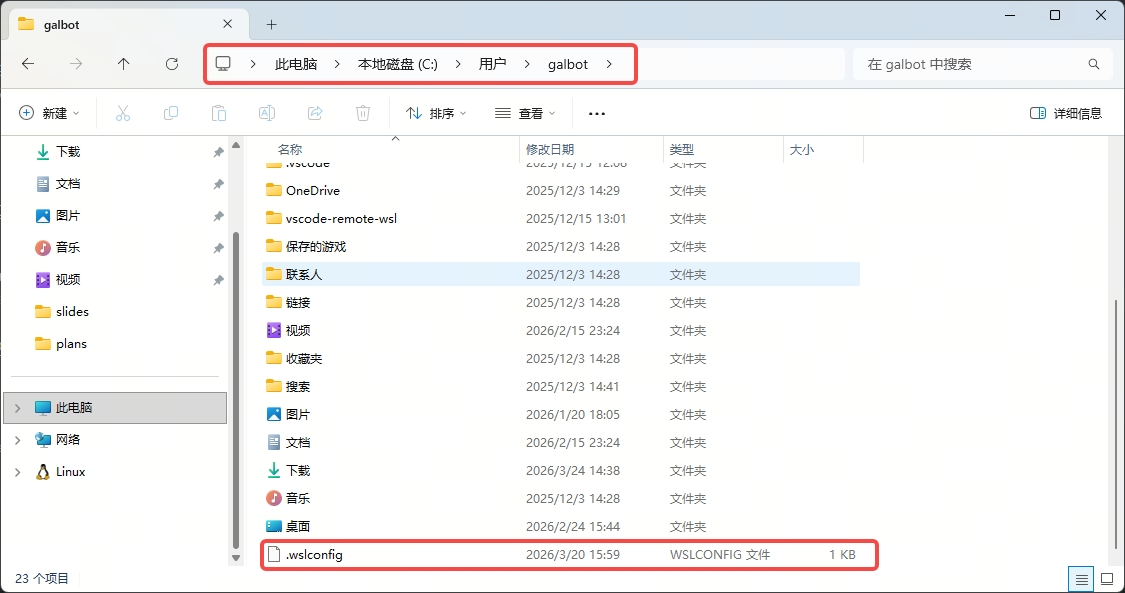
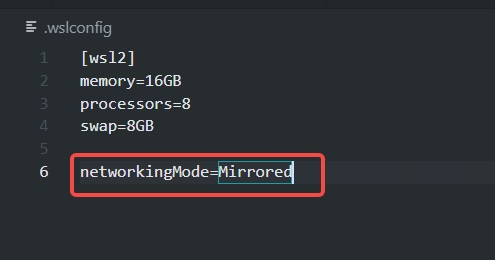
2.1.2 WSL2
When using WSL2, create a .wslconfig file in the current Windows user profile directory and add networkingMode=Mirrored, for example:
Configure the IP address in Windows:
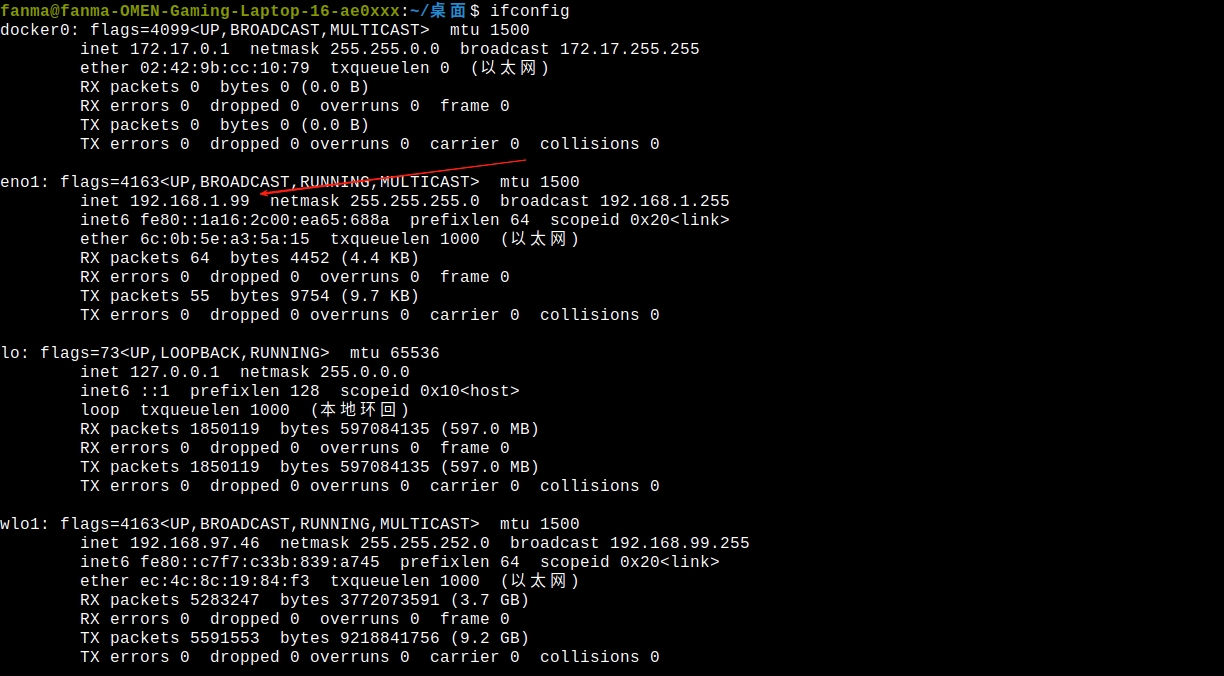
Verify configuration:
Expected Output
Displays inet 192.168.1.99
2.2 Configure PC IP Configuration File
File path: /data/config/embosa_ip_config.json
Configuration example (assuming PC: 192.168.1.99, XCU: 192.168.1.66, Orin: 192.168.1.88):
{
    "embosa_ip": {
        "local_interface": [
            "192.168.1.99"
        ],
        "peer_lists": [
            "192.168.1.66",
            "192.168.1.88"
        ]
    }
}
2.3 Configure Orin IP Configuration File
Prerequisites
You must first connect to Orin via WiFi, refer to Mode 1 Step 1
2.3.1 Login to Orin
2.3.2 Edit configuration file
2.3.3 Configuration content
Important
192.168.100.88 and 192.168.100.66 are internal direct connection IPs between Orin and XCU, must be retained
{
    "embosa_ip": {
        "local_interface": [
            "192.168.100.88",
            "192.168.1.88"
        ],
        "peer_lists": [
            "192.168.100.66",
            "192.168.1.99"
        ]
    }
}
2.4 Configure XCU IP Configuration File
2.4.1 Login to XCU
2.4.2 Edit configuration file
2.4.3 Configuration content
{
    "embosa_ip": {
        "local_interface": [
            "192.168.100.66",
            "192.168.1.66"
        ],
        "peer_lists": [
            "192.168.100.88",
            "192.168.1.99"
        ]
    }
}
2.5 Verify Network Connection
Required Action
You must restart the robot after modifying the configuration
Test connection after restart:
Expected Result
Normal ping response returned

3. Install SDK on PC
Navigate to the SDK directory and execute the installation script
4. Compile Programs
Compile on PC (x86_64)
cd examples/cpp/
mkdir -p build
cd build
cmake ../ -DCMAKE_TOOLCHAIN_FILE=../cmake/linux-x86_64-gcc940.cmake
make
5. Run Programs
5.1 Configure environment variables
Path Description
/opt/galbot/ is the default installation path, can be modified according to your installation path
Persist Environment Variables
5.2 Run C++ Programs
5.3 Run Python Programs
Python Dependency Installation
Some Python examples depend on additional libraries. Before running the Python examples, please execute the following script to ensure all required dependencies are installed: